|
|
|
|
|
FingerTec Cloud Center is a web platform for users to integrate their FingerTec terminals within a web application in order to keep safe their terminal information, transactions data and user data as a backup. Any mishaps in data handling be it in the software or hardware can be solved by simply retrieving the backup data. However, do take note that the data kept in the FingerTec Cloud Center is in raw format and is only comprehensible when transferred to either the Ingress or TCMS software. The cloud center will centralize the data from all FingerTec terminals in a real-time manner.
|
|
|
|
|
|
To use FingerTec Cloud Center, you will need to insert the FCC IP into the terminals. Once the IP is inserted into the terminals, you will need to proceed to activate the terminals in the software. The terminals will start to send data (terminal information, transactions data and user data) in real-time back to FCC through an active connection. In the event of a connection failure, the terminals will store the data into a buffer memory and resume sending the data once the connection is established again, hence avoiding any loss of data and records.
|
|
|
|
|
|
To highlight the differences between the conventional connection to the FingerTec Cloud Center connection method, refer to the table below.
|
|
|
|
|
|
|
|
Conventional Method
|
|
°
|
Data is stored in each individual FingerTec terminal
|
|
°
|
Data will need to be downloaded into the Software
|
|
°
|
Installation of software is a must to control and manage the terminals
|
|
°
|
For multiple-site installation, configuration on the router/port forwarding needs to be done at each router on each site
|
|
|
|
|
FCC Method
|
|
°
|
Data will be centralized and stored in the FCC
|
|
°
|
Data is uploaded into FCC in real-time
|
|
°
|
Once terminal is connected to the FCC, all management will be web-based.
|
|
°
|
Simply configure the terminals by entering the FCC IP address and port to connect the terminals at multiple sites back to the FCC
|
|
|
|
|
|
|
|
Note: FCC is not a complete time attendance or door access solutions. It is only an intermediary software to consolidate the data from FingerTec terminals into a centralized database as a backup. FCC do not provide any form of attendance or access control analysis; it provides terminal list with information of the version of the terminal, total transaction count, algorithm version, user and & fingerprint count in the terminal . These raw data will be presented line by line. FCC also do not provide any reports because it is not integrated with any calculations logic.
|
|
|
|
|
|
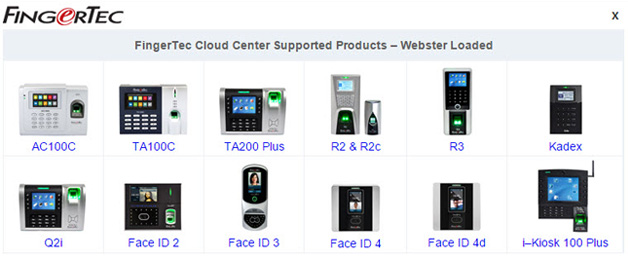
1.1 FingerTec Cloud Center Supported Devices
|
|
|
|
Below is the list of terminals which you can connect to the FingerTec Cloud Center and these terminals are preloaded with Webster. Terminals that are not in the list cannot use FCC due to technical limitations and no customization requests will be entertained.
|
|
|
|
|
|
|
|
|
|
2.0 Configuring FingerTec Terminals and FingerTec Cloud Center.
|
|
|
|
|
|
2.1 FingerTec Cloud Center Registration
|
|
|
|
|
|
|
There are 2 ways to register for the FingerTec Cloud Center.
|
|
|
|
|
a)
|
Via Warranty Submission Page
|
|
|
|
|
|
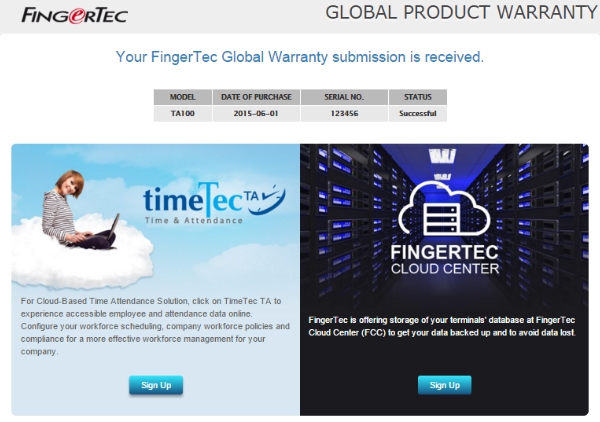
During warranty submission, sign up for the FCC at the Submission Page. Once you have entered the details in in the Global Product Warranty Page and click Submit, you will be prompted the FCC selection. Click on “Sign Up” and proceed with the subscription.
|
|
|
|
|
|
|
|
|
|
|
b)
|
Register Directly from the FCC link
|
|
|
|
|
|
|
|
|
|
|
•
|
If you have submitted your warranty before FCC is launched, you can go to the FCC page at the link below and click on the Sign Up button.
http://fcc.fingertec.com/
|
|
|
|
|
|
|
|
|
|
|
•
|
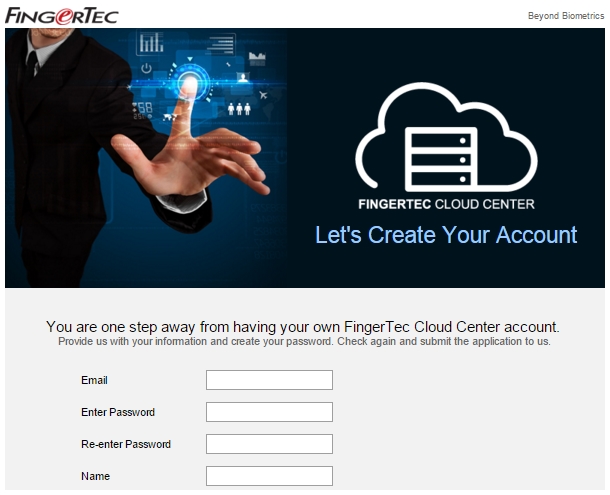
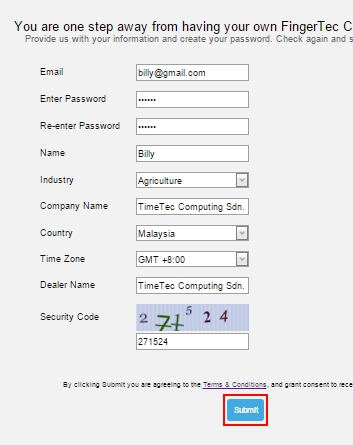
You will be re-directed to the registration page as per below.
|
|
|
|
|
|
|
|
|
|
|
•
|
Enter all the data required and click on “Submit”.
|
|
|
|
|
|
|
|
|
|
|
•
|
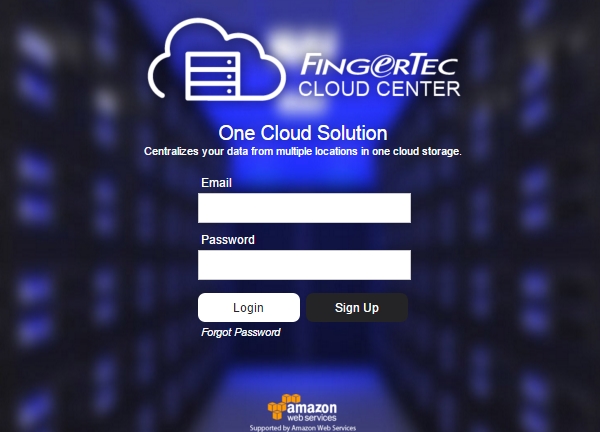
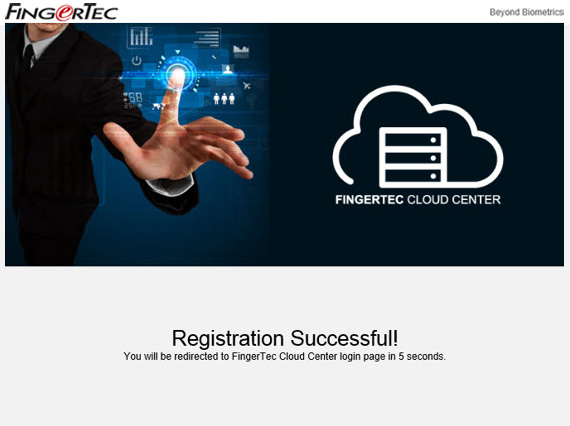
Once the registration is successful, you will get a confirmation message and will be re-directed to the FCC’s login page.
|
|
|
|
|
|
|
|
|
|
2.2 Configuring FingerTec Terminals
|
|
|
|
|
|
|
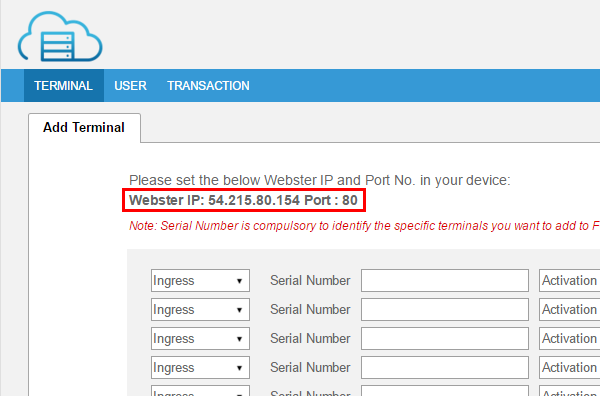
Now enter the IP address and Port of the FCC Software into the terminal before you can establish a connection between the FingerTec terminals and FingerTec Cloud Center.
|
|
|
|
|
|

|
|
|
|
|
•
|
Login to the FCC Account
|
|
|
|
|
|
|
|
|
|
|
•
|
Check the Webster IP address and Port number of the FCC on the bottom left of the page.
|
|
•
|
Determine the model of your terminal and follow the steps below to set the Webster IP and Port No. accordingly.
|
|
|
|
|
|
For Color Screen (AC100C, TA100C, TA200 Plus, R3, Q2i)
|
|
|
Go to Menu > Comm. > Web Setup > Set the IP and port according to the information obtained from your FCC page.
|
|
|
|
|
|
For Color Screen (AC100C FMM, TA100C FMM)
|
|
|
Go to Menu > Comm. > Webserver > Set the Server Address and Server Port according to the information obtained from your FCC page.
|
|
|
|
|
|
For i-Kiosk 100 Plus
|
|
|
Go to Menu > Comm. > Webserver Settings > Set the Webserver IP and Webserver Port according to the information obtained from your FCC page.
|
|
|
|
|
|
For Face Series (Face ID 2, Face ID 3, Face ID 4, Face ID 4d)
|
|
|
Go to Menu > Connection > Webster Setting > Set the Webserver IP and Server Port according to the information obtained from your FCC
|
|
|
|
|
|
For Black & White Screen Series (Kadex & R2)
|
|
|
Go to Menu > Options > Comm Opt > Webserver IP > Set the IP obtained from your FCC page > Web Port > Set the port obtained from your FCC page
|
|
|
|
|
•
|
Once these settings is configured correctly, you can now proceed to add your terminals to FingerTec Cloud Center.
|
|
|
|
|
|
|
|
|
|
2.3 Adding Terminals to FingerTec Cloud Center
|
|
|
|
|
|
|
|
|
|
|
|
3.0 User Transactions
|
|
|
|
|
|
|
•
|
You will be able to view the users’ information in the terminal such as the Name, User ID, Card Number, Privilege, User Group and the created time of the user.
|
|
|
|
|
|
|
|
|
|
•
|
Full access to Transaction Tab. You can view all the transaction available in your terminals in detail complete with the Check Type, Verify Code, Work Code and the Clocking Time.
|
|
|
|
|
|
|
|
|
|
Note: If you are using this terminal compatible to TCMS V2 software, please make sure that the data has been downloaded to FCC first before you download it to TCMS V2. This is because if your terminal is connected to TCMS V2 via TCP/IP Cable, the data will be automatically deleted once it is downloaded to TCMS V2 software.
|
|
|
|
|
|
|
|
|
|
4.0 Retrieving Data from FCC and Restore it to the Software
|
|
|
|
|
|
|
In an occasion that your data is lost or missing or even corrupted, you can use the backup in FCC to replace the lost data. To retrieve the data from FCC, follow the steps below.
|
|
|
|
|
•
|
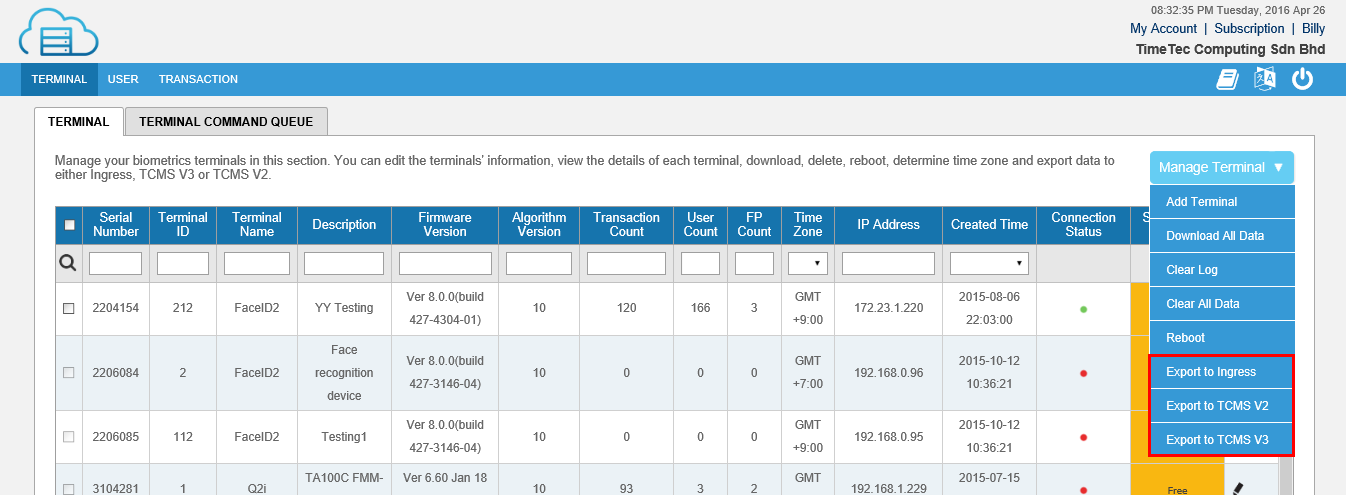
Go to the Terminal Page and select whether to Export the backup to TCMS V2 or Ingress. Click on the software button of your choice.
|
|
|
|
|
|
|
|
|
•
|
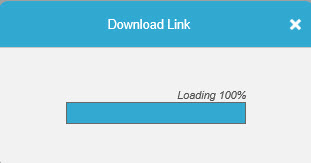
The download link will start immediately once you have click on the export button.
|
|
|
|
|
|
|
|
|
|
|
•
|
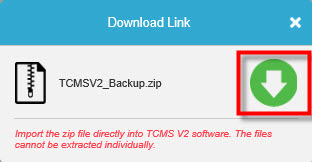
Once the link is ready, you will need to download it to the PC by clicking on the green arrow button.
|
|
|
|
|
|
|
|
|
|
|
•
|
Once the zip folder is downloaded to the PC, you will need to import this file directly into the software because you will not be able to make sense of the files in the zip folder as all the files are encrypted.
|
|
|
|
|
|
Any questions you have about FCC, direct your email to support@fingertec.com.
|
|